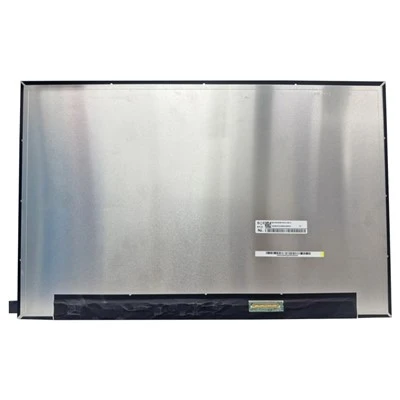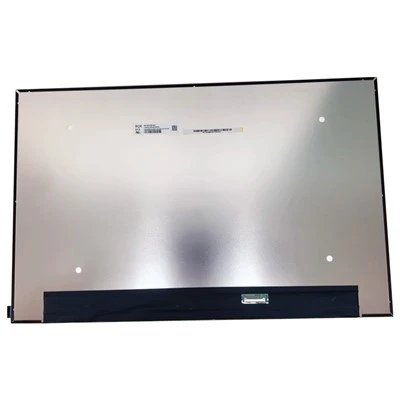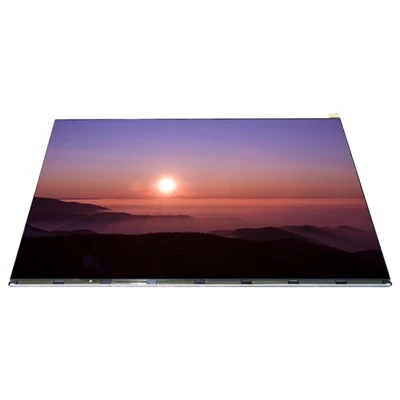

The LED display is a flat panel, which is composed of a small LED module panel. Its structure is very simple. The following editor will introduce you to the production tutorial of the LED display.
To make an LED display, you must first understand the components: unit board, power supply, control card, wiring, switching power supply and LED strip screen control card.
The unit board is one of the core components of the LED display, and the quality of the unit board directly affects the display effect. The unit board is composed of an LED module, a driver chip and a PCB circuit board. The LED module is actually made up of a large number of LED light-emitting points encapsulated in a matrix with resin or plastic. The driver chip is mainly 74HC595 74HC245 / 244 74HC138 4953. The commonly used unit board specifications for indoor strip screens are: parameters: D = 3.75; dot pitch 4.75mm 64 dots wide x 16 dots high, 1/16 scanning indoor brightness. Interpretation of single red/red and green two-color parameters: light diameter: refers to the diameter of the luminous spot D = 3.75mm the distance of the luminous spot is 4.75mm ---- According to the distance of the observer, the choice of the size of the general indoor 4.75 unit board: 64x16--the most commonly used The module board is the easiest to buy and the cheapest. 1/16 scan: the control mode of the unit board. Indoor brightness: refers to the brightness of the LED luminous point. The indoor brightness is suitable for environments that require fluorescent lighting during the day. Color: single red, the most commonly used and the cheapest price. The two colors generally refer to red and green, and the price is high. If you want to make a 128x16 dot screen, you only need to connect two unit boards together.
power supply
The power supply usually uses a switching power supply, 220V input and 5V DC output. It should be pointed out that because the LED display is a precision electronic device, it uses a switching power supply and cannot use a transformer. For a single red indoor 64x16 unit board, the current is 2A when it is fully lit. It is inferred that when the 128x16 dual-color screen is fully lit, the current is 8A. Should choose 5V10A switching power supply.
control card
It is recommended to use a low-cost strip-shaped screen control card to control a 1/16 scan 256x16 dot dual-color screen to assemble the most cost-effective LED screen. The control card is an asynchronous card, that is, the card can be closed to save information, and the information stored in it can be displayed without connecting to the PC.
When purchasing a unit board, please ask for the parameters. 100% compatible unit board has: 08 interface 4.75mm dot distance 64 dot width x 16 dot height, 1/16 scanning indoor brightness. Single red/red and green 08 interface 7.62mm dot distance 64 dots wide x 16 dots high, 1/16 scanning indoor brightness. Single-red/red-green dual-color 08 interface 7.62mm dot distance 64 dots wide x 16 dots high, 1/16 scan half outdoor brightness.
connect
Divided into data lines, transmission lines and power lines. The data line is used to connect the control card and the LED unit board cable, and the transmission line is used to connect the control card to the computer. The power cord is used to connect the power supply and the control card, the power supply and the LED unit board. The diameter of the copper core of the power cord connecting the unit board is not less than 1 millimeter (mm).

Accessories production
Cable (data cable) production cable is similar to the data cable in the computer case, except that the width of the cable is slightly different. You can purchase related materials in the Computer City. To make cables, you need a tool, which is a special type of pliers (picture), which can greatly improve work efficiency and output. The materials for making cables are: cables, cable heads and cable caps. It should be noted here that if you make a 16PIN (16-wire) cable, you need to purchase a 16PIN cable and corresponding size cable heads and cables. In the production step, cut the wire with a pair of scissors, and then put the wire end (pay attention to the balance of the wire and the end), then put it into the center of the crimping pliers, press firmly, then wrap the wire and install the cable cap. The cable cap is very important. It can effectively protect the cable and make the cable stronger without saving.
The power supply is divided into 220V power cord and 5V power cord. The 220V power cord is used to connect the switching power supply to the power supply. It is best to use a 3-pin plug, which can be purchased at a hardware store. Here we are concerned about the 5V DC power cord. Since the current of 5V is relatively large, it is best to use a red and black pair (must be red and black) with a copper core diameter of 1mm or greater. If possible, it is best to connect metal parts to both ends of the production line.
RS232 line produces RS232 line, used to connect computer and control card, update screen data. Here, you need to use a DB9 connector and a network cable (available in Computer City). Look carefully at the head of DB9, there are numbers on it, connect 5 to brown and 3 to brown. Clamp the cable and install it in the DB9 head. (It is very important here, be sure to clamp it, pull it a few times, and then see if it falls off). Then measure both ends with a multimeter and turn them on. It should be pointed out here that the head of DB9 is divided into male and female. The back of the computer belongs to the female socket, so you need to buy a plug. If you don't understand, please check your PC carefully. Today’s laptops usually don’t have a serial port. Please purchase USB to RS232 serial port.